Printed Plastic Python
Contents
Printed Plastic Python (PPP)
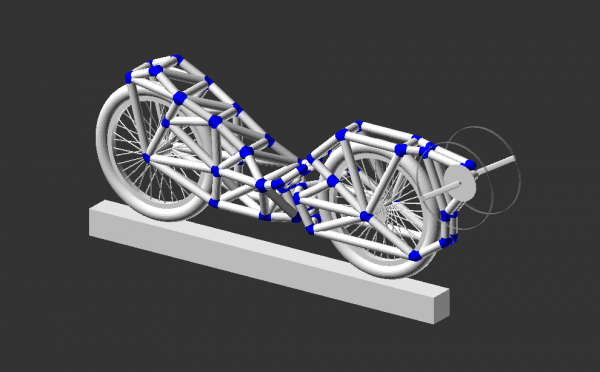
The idea of 3D printing joints to connect steel tubing or tubing of a different material has already been lingering around (see 3D-Printing_and_CNC-Milling). This is an attempt to make such a bike. You can download the source code of the OpenSCAD design here: Printed Plastic Python on Github
Design thoughts
The bike should be very portable, because ultimately I want to use it for my daily commute. This involves taking the train. As such, I decided to use 20" wheels (406). Additionally, the pivot should be detachable very easily. The option to attach panniers is integral to the bike frame. 3D printed dropouts are very questionable, so I hope I can get more solid frame interfaces by using thru-axles.
Material
I plan to use PVC tubing (diameter 32 mm, wall width 2 mm). The joints will be printed using PETG. I hope the bike will be stiff enough so that I can sit on it and still change the joints, but I fear that I will have to coat the joints in epoxy as it is done with bamboo bikes to ultimately ride it. Only the joints and the tubing will already weigh several (3-4) kilograms!
Pivot
The idea is to combine a 12 mm thru-axle with two 12 mm rod-end bearings. Potential parts: Shimano axle AX MT500, Igus KBRM-12 MH rod-end joint
OpenSCAD code
The main file is "assembly.openscad". Open it and press F5 to quick-render.
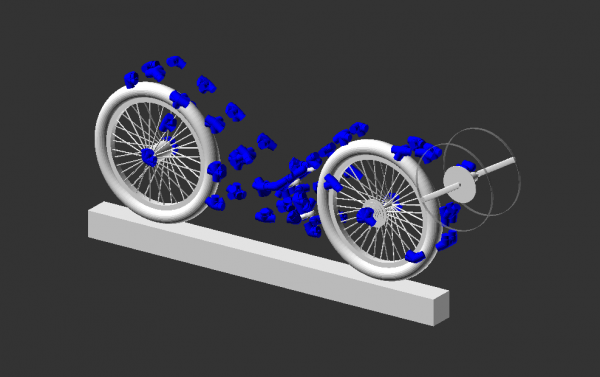
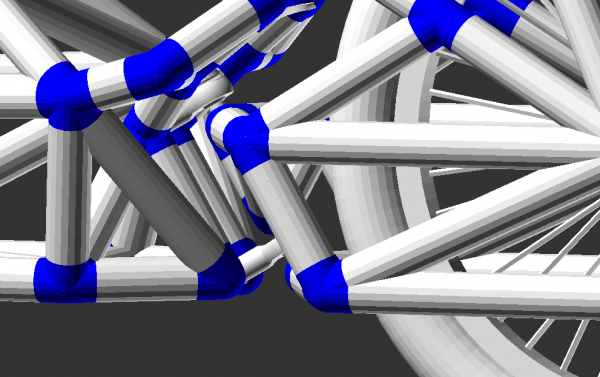
The general idea is to keep it as parametric as possible. The frame is constructed by placing points for the joints in 3D space and then connect the points with the beams. Each beam connecting two points provides the part of the joint it needs.
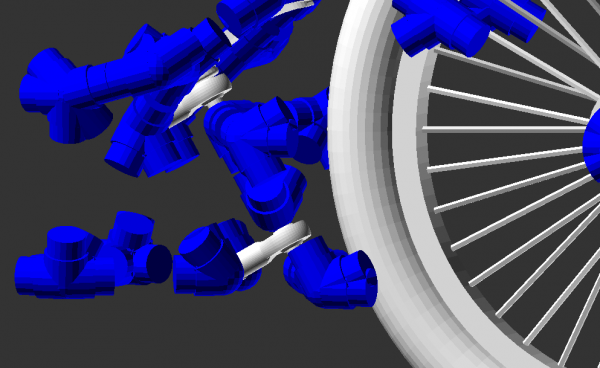
It is relatively easy to change the wheel diameter, and the position of the joints will mostly change accordingly. The seat and the pivot have to be adjusted manually. In the end, each and every joint has to be customized for 3D printing, so to customize there are three steps: first, choose the parameters you want to go with (e.g. rim diameter). Then adjust the seat and the pivot. Finally, fine tune each joint to prepare for 3D printing.
If you have a question about the OpenSCAD code, feel free to write it here. Sorry, the code is really messy! Also, for some parts you will have to download the proprietary STLs, so don't expect the project to compile without errors.
Examples
- Defining points right and left to the rear hub:
- p_rear_hub_r = [-wheelbase/2, -rear_hub_width/2 - joint_diameter/2, 0];
- p_rear_hub_l = [-wheelbase/2, +rear_hub_width/2 + joint_diameter/2, 0];
- Defining joints for the brakes by specifying an angle around the hub axis and defining the radius (most points around the front wheel are specified in this way):
- p_rear_brake_l = [-wheelbase/2, 0, 0] + v_rotate_y([ rim_diameter/2 - brake_offset, +rear_frame_width/2, 0], -62);
- p_rear_brake_r = [-wheelbase/2, 0, 0] + v_rotate_y([ rim_diameter/2 - brake_offset, -rear_frame_width/2, 0], -62);
Renderings
OpenSCAD renderings as of 2018-01-08:
Discussion
General discussion goes here (but feel free to add specific questions to any section above).


